Summer is the perfect season for propagating lemon trees. The warm weather, bright sunshine, and natural humidity create ideal conditions for fast root development and healthy new growth. If you’ve been wanting to multiply your lemon trees without waiting years for seed-grown plants, then you’re about to learn the BEST and most effective method to propagate your lemon trees this summer!
Whether you’re a beginner gardener or an experienced grower, this detailed 1200-word guide will walk you through the most reliable propagation method, why it works especially well in summer, and how to care for your new plants so they grow into strong, fruit-bearing lemon trees.
Why Summer Is the Best Season for Propagating Lemon Trees
Summer provides a natural boost for plant reproduction. The warm environment does most of the work for you.
Summer advantages:
- Faster root growth due to warm soil
- Higher humidity, which reduces cutting dehydration
- Active plant metabolism, helping cuttings root quickly
- Longer daylight hours, ensuring better photosynthesis
- Stronger immunity and recovery rate in plants
When you combine these natural summer benefits with the right propagation technique, your success rate can easily reach 90–100%.
The Best Propagation Technique for Lemon Trees in Summer: Semi-Hardwood Cuttings
There are many ways to propagate lemon trees—air layering, grafting, water rooting, leaf rooting experiments—but nothing beats semi-hardwood cuttings in summer.
Why semi-hardwood cuttings work best:
- They are mature enough to root fast
- They are flexible, yet strong
- They do not rot easily
- They form callus faster in warm weather
- They give high success rates even for beginners
This method is natural, simple, and highly reliable.
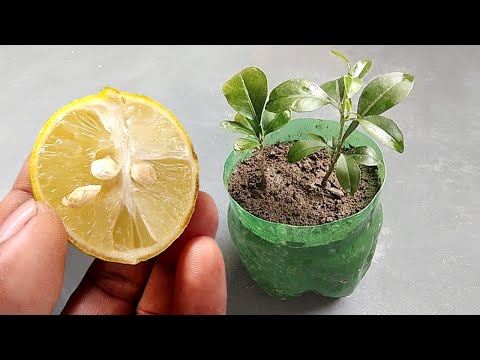
Step 1: Selecting the Perfect Lemon Cutting
To successfully propagate your lemon tree, start with the right cutting.

Choose a cutting that is:
- 15–20 cm long
- Taken from a healthy mother plant
- Semi-hardwood (not too young, not too woody)
- At least pencil-thick
- Has 3–5 nodes
- Contains 2–3 leaves on top
Avoid:
- Yellowing branches
- Diseased or pest-infested stems
- Very thin or very young green stems
Good cuttings = guaranteed rooting.
Step 2: Preparing the Cutting for Fast Rooting
Correct preparation is the secret to healthy root development.
Remove extra leaves
- Keep only the top 2–3 leaves
- Remove leaves from the bottom half
This reduces moisture loss and prevents dehydration.
Make a 45-degree cut
A slanted cut increases the rooting surface area.
Lightly scratch the lower bark
Use a knife to gently scrape one side of the stem (1–2 cm long).
This exposes the green inner tissue and stimulates faster root formation.
Step 3: Using Natural Rooting Boosters (Optional but Highly Effective)
Summer rooting becomes even easier if you use natural stimulants:
Honey
- Mild antiseptic
- Encourages root initiation
Aloe Vera Gel
- Reduces fungal infections
- Boosts cell regeneration
- Keeps the cutting hydrated
Banana Water
- Rich in potassium
- Supports early root development
Dip the cut end into one of these natural boosters before planting.
Step 4: Choosing the Fastest Rooting Growing Medium
Summer heat means you must choose a growing medium that retains moisture without becoming soggy.

Best rooting mix for summer:
- 40% Cocopeat
- 30% River sand or perlite
- 30% Compost or garden soil
This mix ensures:
- Good drainage
- Proper aeration
- Balanced moisture
- Prevention of rot
The roots grow fast in this mixture.
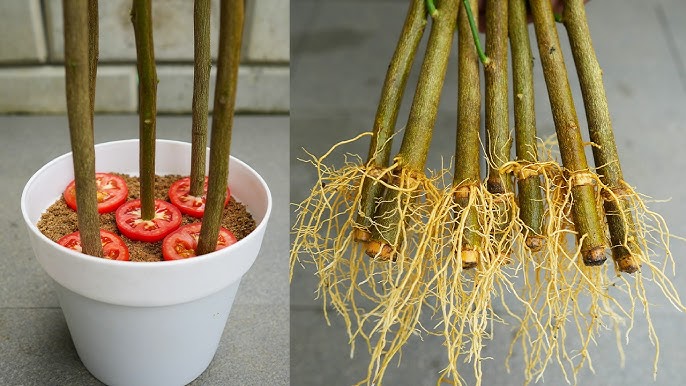
Step 5: Planting the Lemon Cutting
Now that the cutting is prepared, it’s time to plant it properly.
Planting instructions:
- Make a hole in the center of the pot
- Insert the cutting 3–4 inches deep
- Press the soil gently around it
- Water lightly until the soil is moist
Pot size:
Use a medium-sized pot (6–8 inches) with drainage holes.
Avoid planting multiple cuttings in the same pot—they compete for nutrients.
Step 6: Create a Mini Greenhouse for Fast Rooting
Summer propagation requires controlled humidity, especially in dry regions.
Make a simple mini greenhouse using:

- A transparent plastic bag
- A plastic bottle
- A clear container
Benefits of a mini greenhouse:
- Maintains humidity
- Prevents leaf dehydration
- Creates warm, stable temperature
- Speeds up callus and root formation
Place the pot in a shaded, bright area—never in direct sunlight.
Step 7: Watering and Care During Root Formation
Watering is crucial. Too much water causes rot, too little kills the cutting.
Watering rules:
- Keep soil moist, not soggy
- Water lightly every 2–3 days
- Never allow the soil to dry completely
Signs of overwatering:
- Stem turning black
- Foul smell
- Mold on soil
If these appear, reduce watering and improve air circulation.
Step 8: Rooting Timeline & What to Expect
Propagation success varies depending on climate, moisture, and cutting maturity.
Here’s how rooting progresses:
- Week 1: Cutting stays green; callus begins forming
- Week 2–3: New leaves may appear (a good sign)
- Week 3–4: Roots start forming
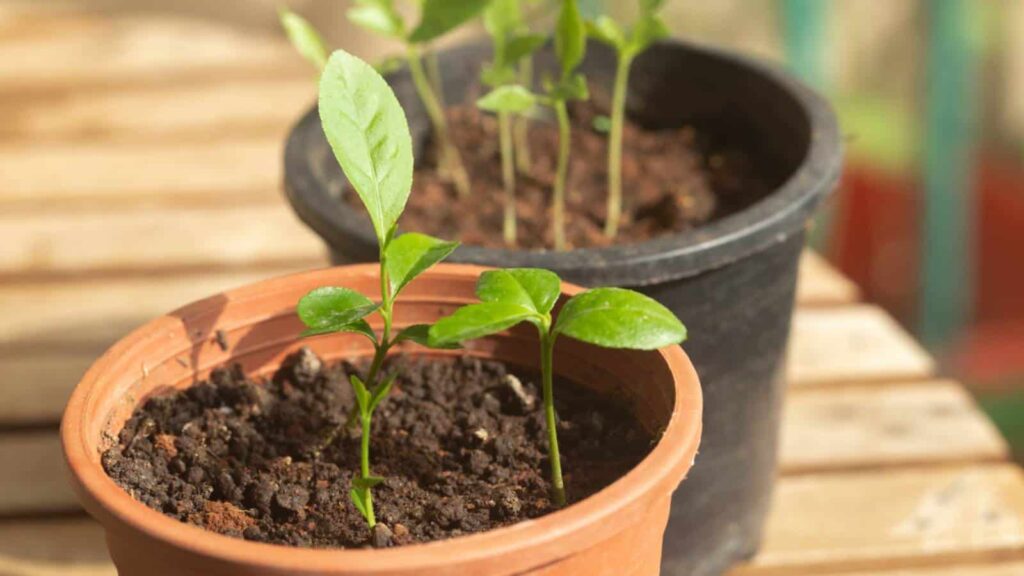
- Week 5–6: Cutting becomes a young plant
You can gently tug the cutting after 4 weeks—if you feel resistance, roots have developed.
Aftercare: Helping Your New Lemon Plant Grow Strong
Once your cutting establishes roots, proper care ensures healthy growth.
Step 9: Gradual Sunlight Exposure
Don’t put the newly rooted plant in full sunlight immediately.

Week 1 after rooting:
- Keep in bright shade
Week 2:
- Give 1–2 hours of morning sun
Week 3 onwards:
- Increase sunlight gradually
- Full morning sun is ideal
Lemon trees thrive in sunlight but need adaptation time.
Step 10: Begin Fertilizing After 6–8 Weeks
Young roots are delicate—avoid chemical fertilizers early.
Use gentle organic fertilizers:
- Vermicompost
- Cow dung manure
- Compost tea
- Banana peel water
- Seaweed solution
Feed every 15–20 days.
Step 11: Transplanting the New Lemon Plant
After 2–3 months, the plant will need more space.
Transplant when:
- Roots come out of drainage holes
- Plant shows fresh growth
Move it to a larger pot or plant it directly in the ground.
Best planting location:
- Full sunlight
- Well-draining soil
- No waterlogging
Healthy soil = sweeter lemons.
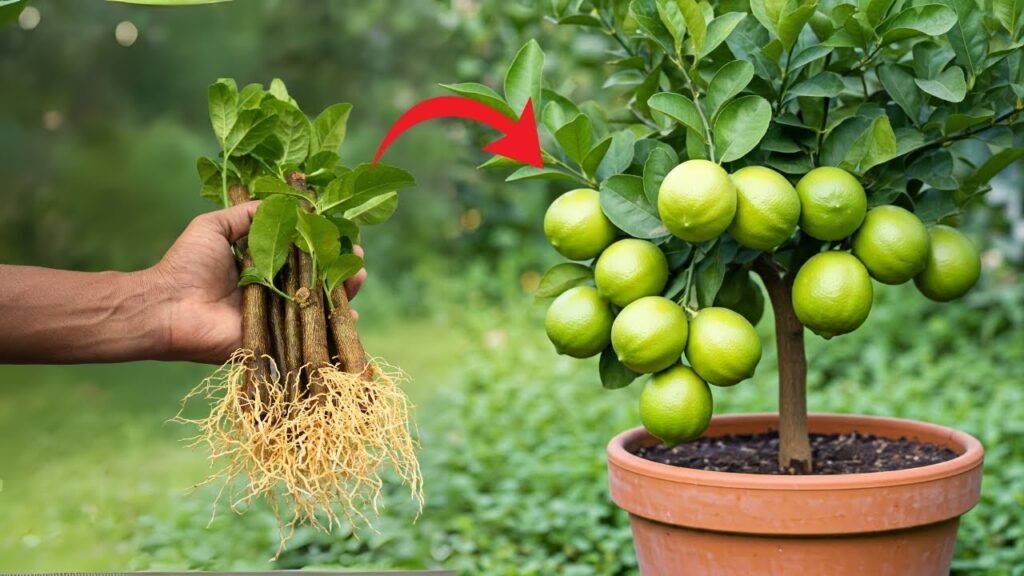
When Will Your Propagated Lemon Tree Bear Fruit?
One of the biggest advantages of propagation is faster fruiting.

Expected fruiting time:
- 2–3 years for cuttings
- Much faster than seed-grown plants (5–7 years)
With proper care, you’ll enjoy home-grown lemons sooner than you think!
Common Mistakes to Avoid During Summer Propagation
To ensure maximum success, avoid these common errors:
Using too young or too old cuttings
Keeping cuttings in direct sunlight
Overwatering
Planting in poor-draining soil
Not using humidity control
Using dull cutting tools (causes infection)
Avoid these mistakes and your propagation success rate will soar.
Final Thoughts: Summer Is the Perfect Time to Multiply Your Lemon Trees!
With warm weather on your side, summer is the best season to propagate lemon trees quickly and successfully. By following the steps above—choosing the right cutting, preparing it properly, using the right medium, and controlling humidity—you can grow strong, healthy lemon trees even as a beginner.