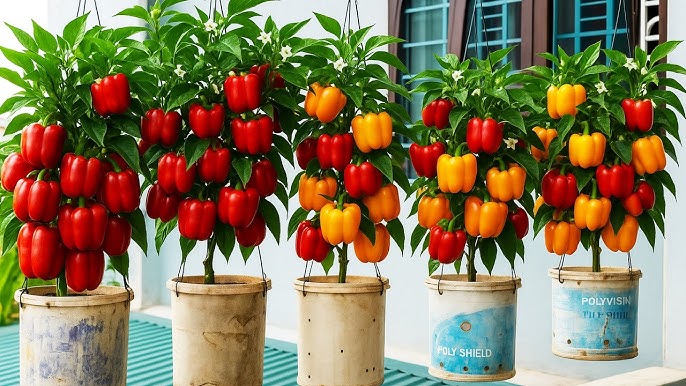
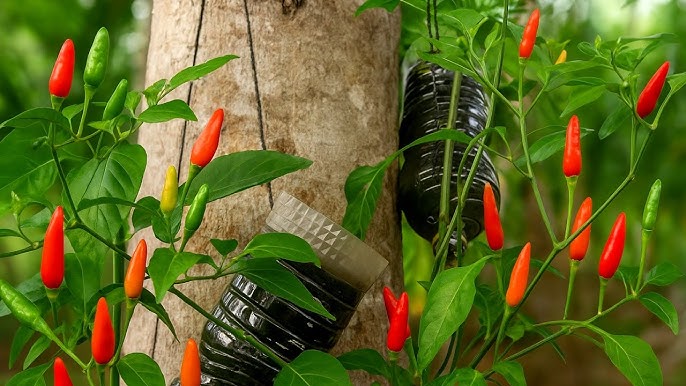
Growing chili peppers at home doesn’t require a big garden or expensive pots. In fact, one of the most creative, affordable, and space-saving methods is to grow chili peppers in hanging bottles. This vertical gardening trick not only saves space but also transforms your balcony, wall, or backyard into a vibrant green display of dangling chili plants loaded with fruits.
Whether you’re a beginner gardener or someone looking to maximize small spaces, this method is simple, fun, and surprisingly productive. In this 1200-word guide, you’ll learn how to set up your hanging bottle chili garden, choose the right varieties, care for the plants, and harvest fresh chilies all year round.
Let’s begin your journey to growing spicy goodness from the sky!
Why Grow Chili Peppers in Hanging Bottles?
Growing in hanging bottles might look unusual, but it offers several benefits that traditional pots and garden beds don’t.
1. Perfect for Small Spaces
You can hang bottles:
- On a balcony railing
- Along a wall
- Under a pergola
- On fences
- Even indoors near bright windows
This frees up precious floor space, making it ideal for apartment dwellers.
2. Improved Airflow
Hanging plants enjoy excellent ventilation, reducing fungal infections and promoting stronger plants.
3. Easy to Move
You can easily adjust sunlight exposure by moving the bottles.
4. Practical Recycling
Plastic bottles get a second life—an eco-friendly gardening win!
5. Reduced Pest Problems
Many ground pests can’t reach plants hanging above the soil, leading to cleaner leaves and healthier plants.
What You Need to Get Started
Here’s a simple list of materials:
✔ Plastic Bottles
Choose 1.5 to 2-liter bottles for good root space.
Cut them horizontally or vertically depending on your hanging design.
✔ String, Rope, or Wire
To hang your bottle pots securely.
✔ Potting Mix
Chili peppers love well-draining, airy soil.
Use a mix of:
- 40% cocopeat
- 30% compost
- 20% garden soil
- 10% perlite or rice husk
✔ Chili Seeds or Seedlings
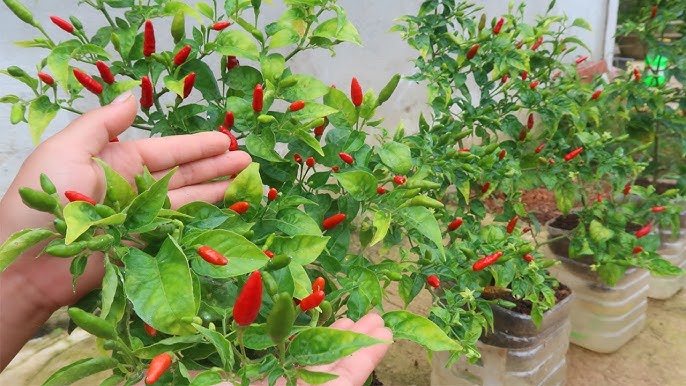
Beginner-friendly varieties:
- Bird’s eye chili
- Cayenne
- Thai chili
- Jalapeño
- Indian green chili
✔ Fertilizer
Organic options like:
- Vermicompost
- Eggshell powder
- Liquid seaweed
- Banana peel tea
✔ A Sunny Location
Chilies need 6–8 hours of sunlight.
Step-by-Step Guide to Preparing Hanging Bottle Pots
Here’s how to turn ordinary plastic bottles into productive chili pepper planters:
1. Cut and Clean the Bottles
Decide your style:
Horizontal Bottle Planter:
Cut a rectangular opening on one side—ideal for bushy varieties.
Vertical Bottle Planter:
Cut near the bottom, leaving a deep container suitable for longer roots.
Rinse the bottles thoroughly to remove any residues.
2. Create Drainage Holes
Use a heated nail or drill to make small holes at the bottom.
Chilies hate standing water.
3. Insert Hanging Ropes
Make two holes near the top and thread your rope or wire through.
- Ensure knots are tight
- Use strong rope for durability
If hanging horizontally, tie ropes on both ends.
4. Add a Base Layer
Place:
- Pebbles
- Broken clay pieces
- Rice husk
This improves drainage.
5. Fill with Potting Mix
Fill bottles with the prepared light soil mix.
Don’t compress it—chili roots love airy soil.
Planting Your Chili Seeds or Seedlings
You can either start with seeds or use purchased seedlings.
Planting Seeds
- Make a small 1 cm deep hole.
- Drop 2–3 seeds per bottle.
- Cover lightly with soil.
- Water gently.
Germination takes 5–10 days depending on temperature.
Transplanting Seedlings
Choose seedlings with:
- 3–4 true leaves
- Strong stems
- Bright green growth
Transplant carefully to avoid damaging the roots.
Watering: The Most Important Step
Hanging containers dry faster than ground pots.
Here’s how to keep moisture levels perfect:
✔ Water lightly every morning
Avoid overwatering—chilies dislike soggy soil.
✔ Check soil with your fingers
If the top 1 inch feels dry, water.
✔ Use a drip system if available
A slow drip helps keep soil moist without flooding.
✔ Mulch with dry leaves
This slows evaporation and keeps roots cooler.
Sunlight Requirements
Chilies thrive in bright sunlight.
- Minimum: 6 hours
- Ideal: 7–8 hours
- Too little: plants become leggy and fruitless
- Too much: leaves may curl, so move bottles if needed
The best part?
You can easily adjust sunlight exposure by shifting or rotating the hanging bottles.
Feeding Your Chili Plants for Maximum Yield
Chili peppers are heavy feeders during flowering and fruiting stages.
Here is a simple, effective feeding schedule:
Week 2–4: Leaf Growth Stage
Apply:
- Compost tea
- Diluted cow dung fertilizer (1:20)
- Seaweed solution
Once every 7–10 days.
Week 4–6: Pre-Flowering Stage
Add:
- Banana peel tea (potassium)
- Eggshell powder (calcium to prevent blossom-end rot)
Week 6 Onwards: Fruiting Stage
Apply:
- Fish amino acid
- Epsom salt spray (once every 2 weeks)
- Vermicompost top dressing
Potassium-rich fertilizer increases fruit size and spiciness.
Encouraging More Flowers & Fruits
To ensure continuous production:
✔ Pinch the growing tip early
This makes the plant bushier.
✔ Remove weak branches
Helps plant focus on strong fruiting stems.
✔ Avoid too much nitrogen
Lots of leaves + few chilies.
✔ Ensure pollination
In hanging gardens, wind helps, but you can gently shake the plant.
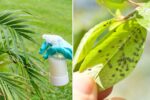
Pest and Disease Management
Hanging bottles reduce many pests, but some may still appear.
Common chili pests:
- Aphids
- Whiteflies
- Spider mites
- Caterpillars
Organic solutions:
- Neem oil spray (weekly)
- Soap water
- Garlic-chili-ginger spray
- Yellow sticky traps
For fungal issues:
- Improve airflow
- Avoid overhead watering
- Use cinnamon powder on soil surface
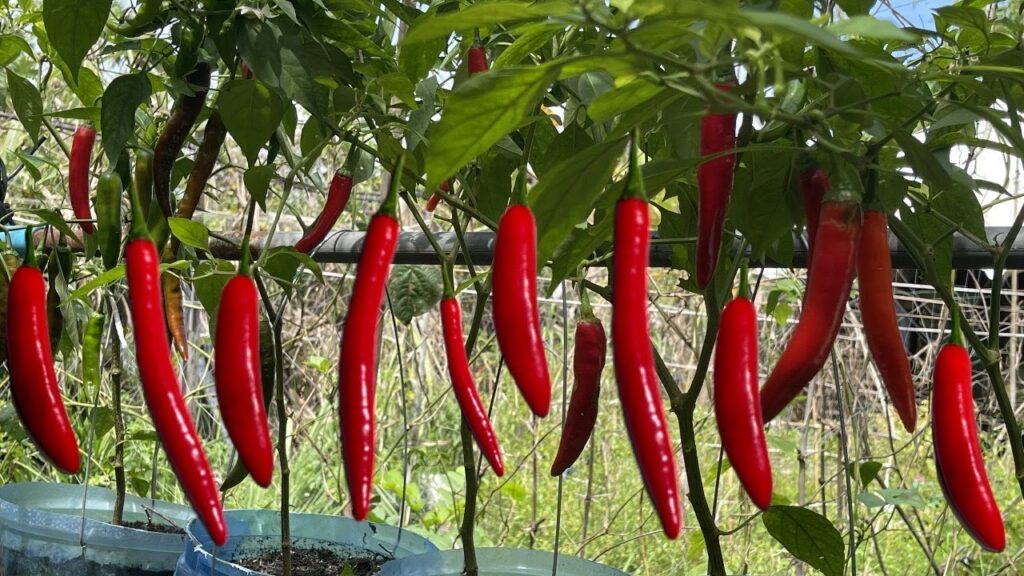
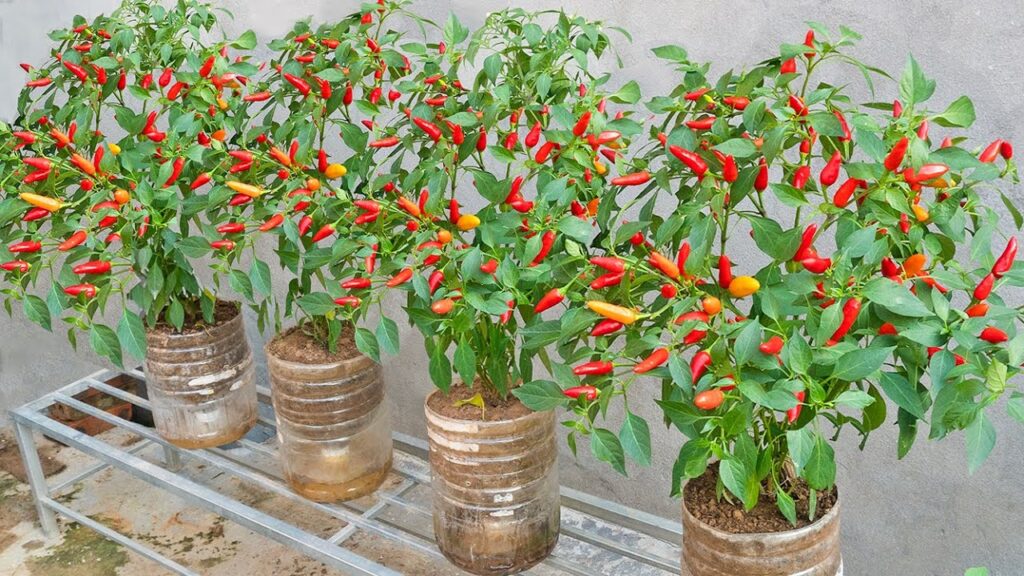
Harvesting Your Chili Peppers
Chilies grown in hanging bottles can be harvested in 60–90 days depending on variety.
Indicators your chilies are ready:
- Firm texture
- Full size
- Vibrant color (green, red, orange, or yellow depending on variety)
Harvest regularly!
Frequent picking encourages the plant to produce more fruits continuously.
Bonus Tips for Maximum Success
Choose compact chili varieties
These grow best in bottles and produce more in small spaces.
Use transparent bottles only for seedlings
Green algae grows in clear bottles—paint them or cover them with cloth for mature plants.
Rotate bottles weekly
Ensures even sunlight exposure.
Don’t overcrowd
1 chili plant = 1 hanging bottle.
Protect from heavy winds
Hang against a wall for support.
Final Thoughts: A Beautiful and Productive SkyGarden!
Growing chili peppers in hanging bottles is more than just a gardening trick—it’s a brilliant combination of sustainability, creativity, and practicality. With just a few recycled bottles, some soil, and a sunny spot, you can enjoy a continuous harvest of spicy, fresh chilies right outside your window.
This method proves that gardening doesn’t need vast land or expensive equipment. All you need is a little imagination and care to transform simple plastic bottles into productive mini-gardens.