Pruners are one of the most essential tools in a gardener’s kit. Whether you’re trimming roses, shaping shrubs, or snipping dead stems, sharp blades make the job quicker, cleaner, and easier on both you and your plants. Dull pruners, on the other hand, can crush stems, invite disease, and strain your hands. The good news is that sharpening pruners isn’t complicated—it just requires the right tools, a little patience, and a good technique.
Here’s a step-by-step guide on how to sharpen your pruners the right way.
Step 1: Gather Your Supplies
Before you begin, make sure you have the right tools on hand. You’ll need:

- A sharpening tool (diamond file, whetstone, or carbide sharpener)
- A small wire brush or steel wool
- Cleaning solution (soapy water or rubbing alcohol)
- Lubricating oil (such as WD-40, 3-in-1 oil, or vegetable oil)
- A rag or paper towel
- Safety gloves
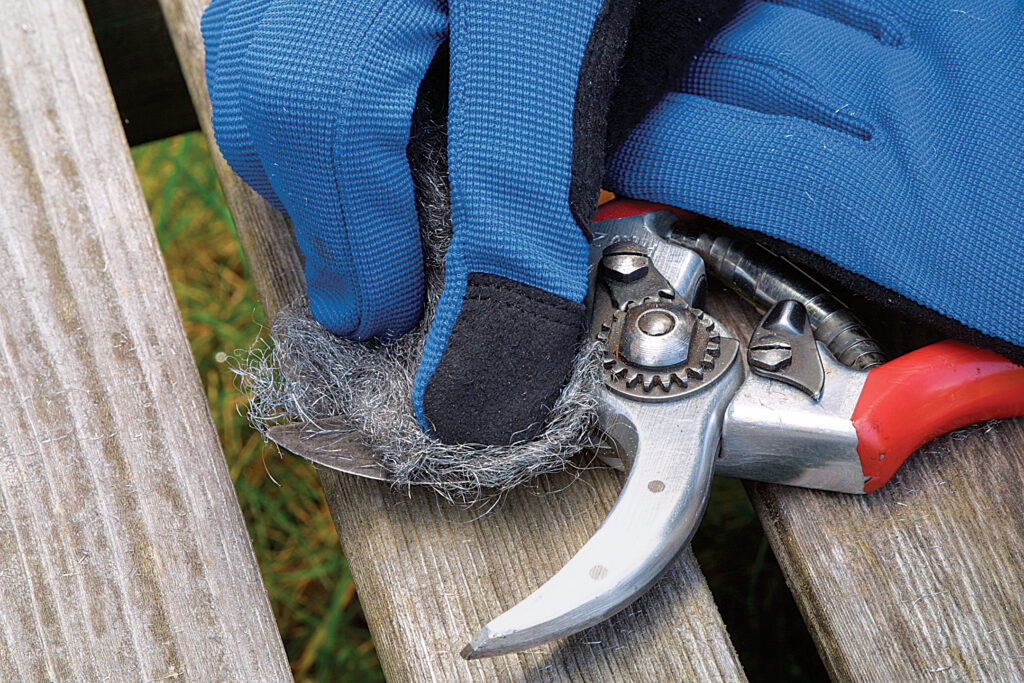
Step 2: Clean the Pruners
Dirt, sap, and rust buildup can interfere with sharpening, so start by cleaning your pruners thoroughly.
- Use a wire brush or steel wool to remove rust and debris.
- Wash with warm, soapy water or wipe with rubbing alcohol.
- Dry completely to prevent new rust from forming.
Tip: Regular cleaning after each use will make sharpening easier and extend the lifespan of your pruners.
Step 3: Disassemble if Necessary

Some pruners allow you to take them apart by loosening a central bolt. Disassembly gives you better access to the blade and makes sharpening easier. If your model doesn’t come apart easily, you can sharpen it while still assembled—just be careful of your hands.

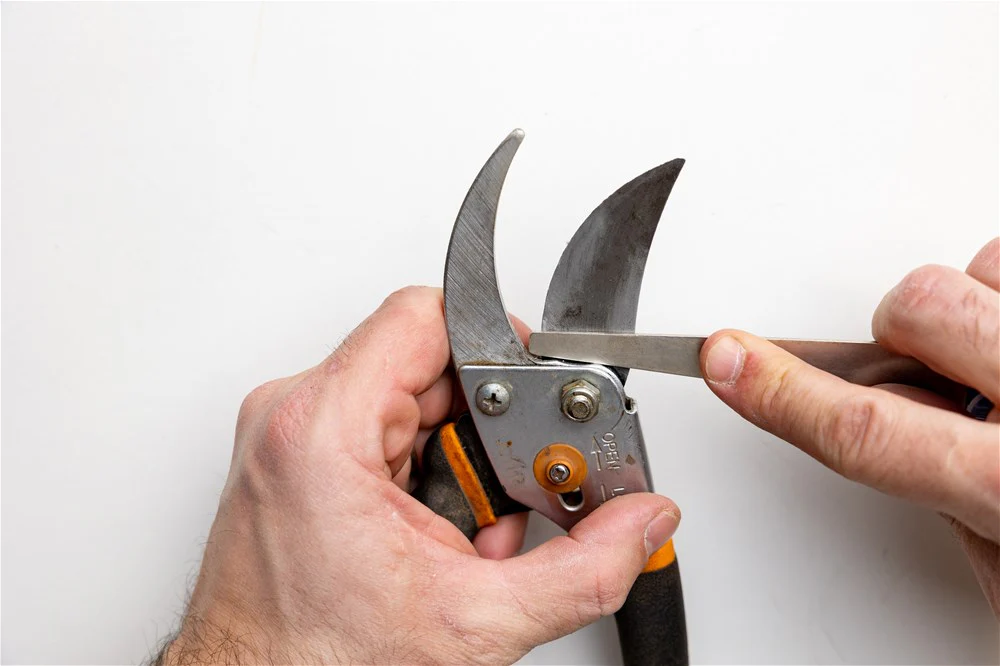
Step 4: Identify the Beveled Edge
Pruners usually have one sharpened, beveled edge and one flat side. You’ll want to sharpen only the beveled edge to maintain the correct cutting angle. Sharpening the flat side can damage the tool and reduce cutting efficiency.
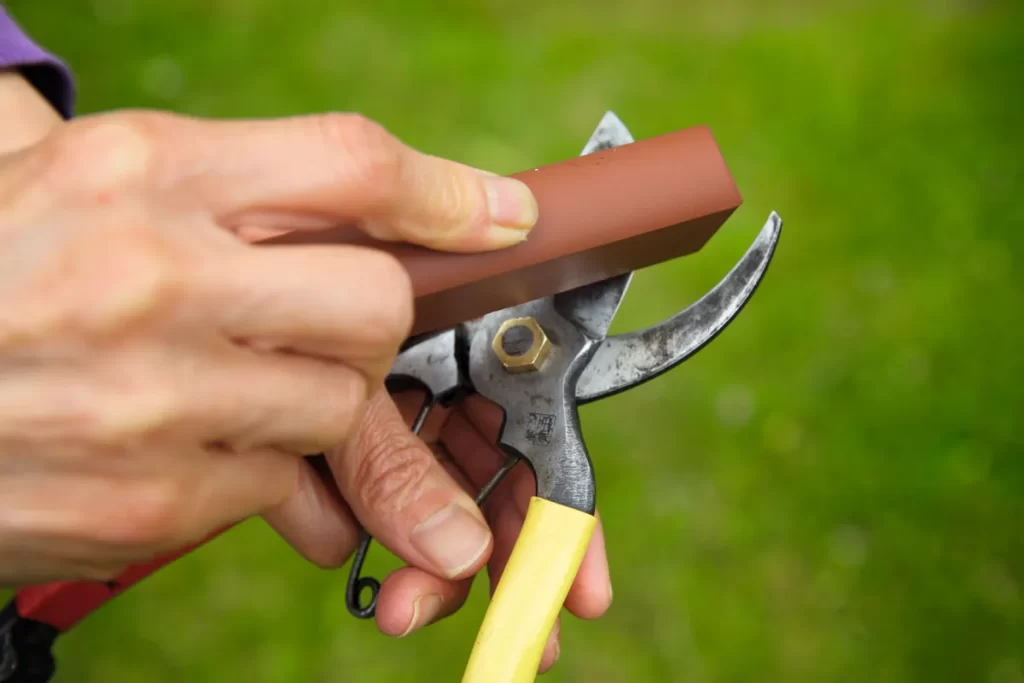
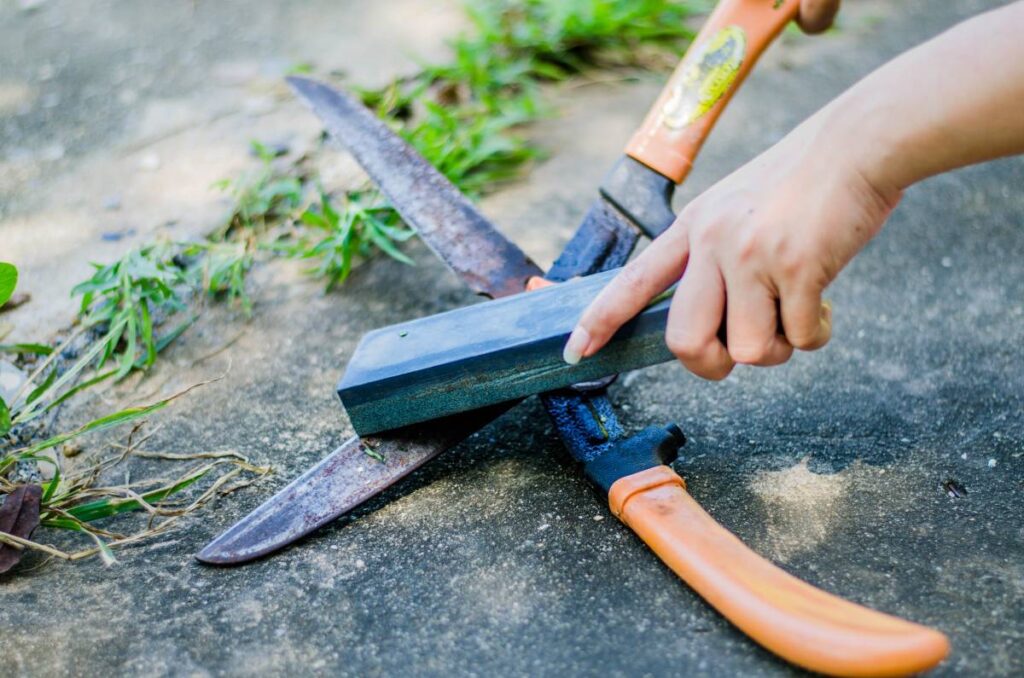
Step 5: Sharpen the Blade
Now comes the key step.
- Hold the pruners firmly in one hand, blade facing away from you.
- Position your sharpening file or stone at the same angle as the bevel (usually around 10–20 degrees).
- Push the sharpener along the edge in smooth, even strokes, always moving in one direction away from you.
- Repeat 10–20 times, or until the edge feels sharp.
Tip: Avoid sawing back and forth—consistent one-way strokes give the cleanest edge.

Step 6: Hone the Flat Side
After sharpening the beveled edge, lightly run the sharpener once or twice flat against the back of the blade. This removes burrs without altering the blade’s structure.
Step 7: Lubricate and Reassemble
Once sharpening is complete:
- Wipe the blades clean with a dry rag.
- Apply a thin layer of lubricating oil to protect against rust and ensure smooth operation.
- Reassemble your pruners if you took them apart.
- Test the cut on a piece of paper or a plant stem—it should slice cleanly with little resistance.
Step 8: Maintain Regularly
Pruners stay sharp longer if you maintain them consistently. Quick touch-ups every few weeks are easier than waiting until they’re very dull. Always store your pruners in a dry spot and keep them clean after use.

Common Mistakes to Avoid
- Sharpening the wrong side: Only the beveled edge should be filed.
- Using the wrong angle: Too steep or shallow can damage the blade.
- Skipping cleaning: Dirt and sap can dull the blade faster and make sharpening less effective.
- Forgetting oil: Unlubricated pruners are prone to rust and stiff movement.
Final Thoughts
Sharp pruners are safer, more effective, and better for plant health. By following these steps, you’ll keep your pruners in excellent condition and make gardening tasks more enjoyable. With just a few minutes of care every month, your trusty pruners can last for years, always ready to make precise, clean cuts.