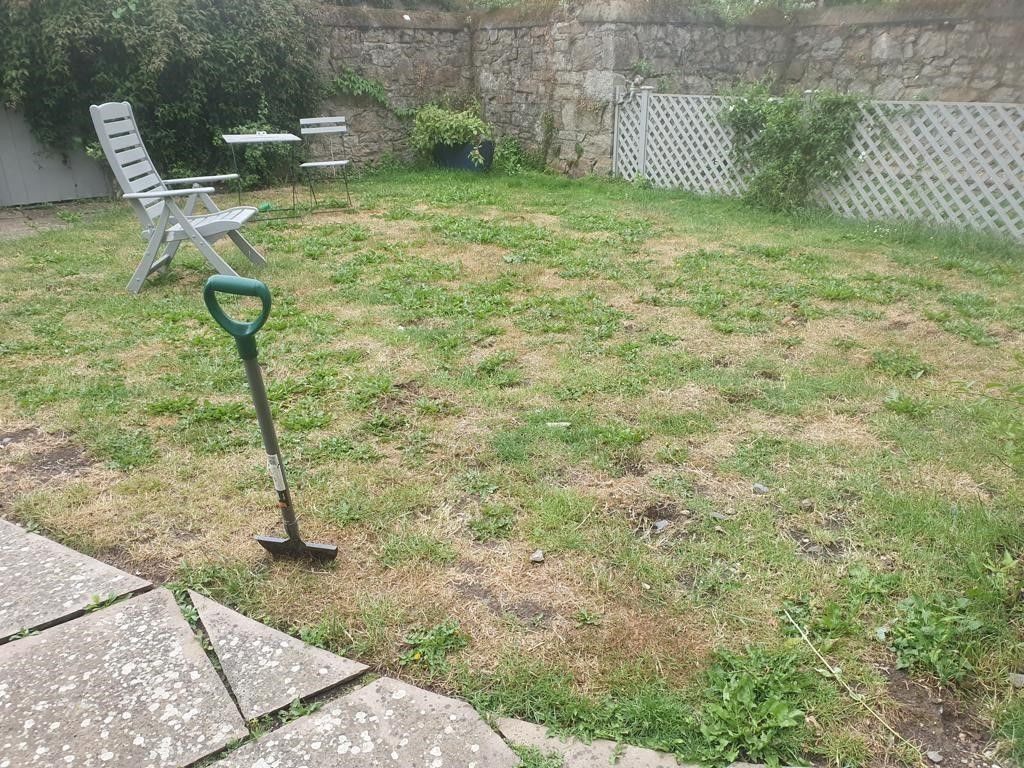
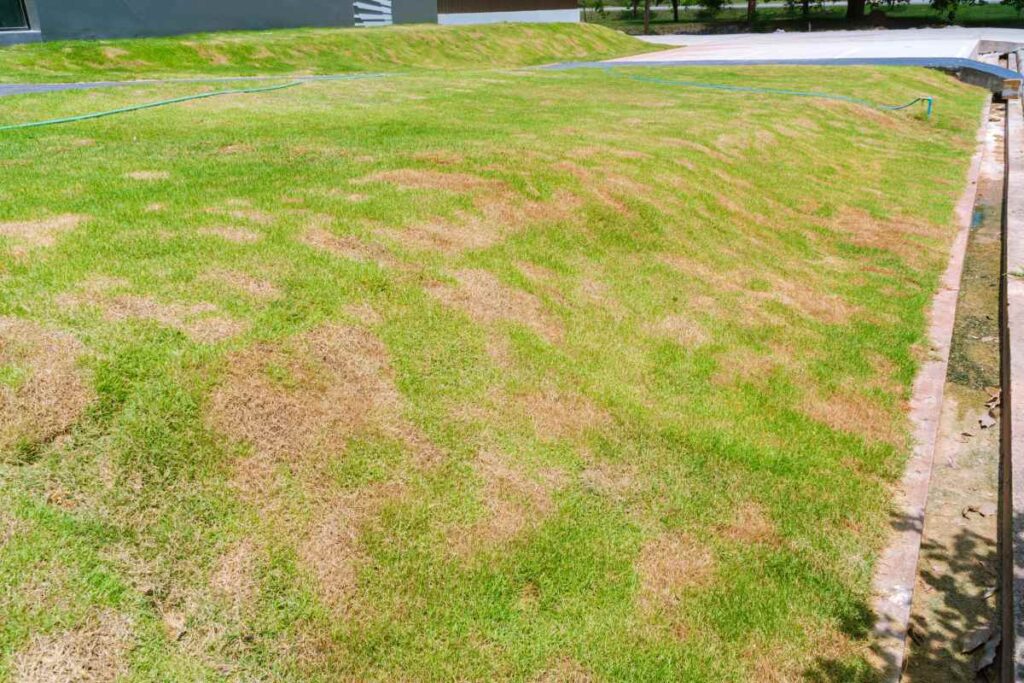
As fall settles in and temperatures begin to drop, your lawn may start showing a few problem areas—thin patches or completely bare spots that ruin the smooth, green carpet you worked so hard to maintain all summer. If you wait too long, those bare patches will remain exposed all winter, leaving your lawn vulnerable to erosion, weed invasion, and frost damage.
The good news? Fall is the ideal time to repair bare spots—as long as you act before the ground freezes. With the right timing, tools, and techniques, you can restore those patchy areas and give your lawn a lush, uniform look come spring.
Here’s a step-by-step guide to repairing bare spots before winter sets in, along with expert tips to help your efforts last through the cold season.
Why Fall Is the Best Time to Repair Bare Spots
Autumn provides the perfect balance of cool temperatures and moist soil, two factors that grass seed loves. The cooler air encourages root development rather than top growth, while consistent rainfall keeps seeds hydrated without washing them away.
In addition, weeds are less aggressive in fall, meaning new grass seedlings can grow without heavy competition. By the time winter arrives, your new grass will have established roots strong enough to survive the freeze and burst back to life in spring.
If you wait too long—say, until the ground starts to freeze—your efforts will go to waste because the seed won’t have time to germinate and root before winter dormancy.
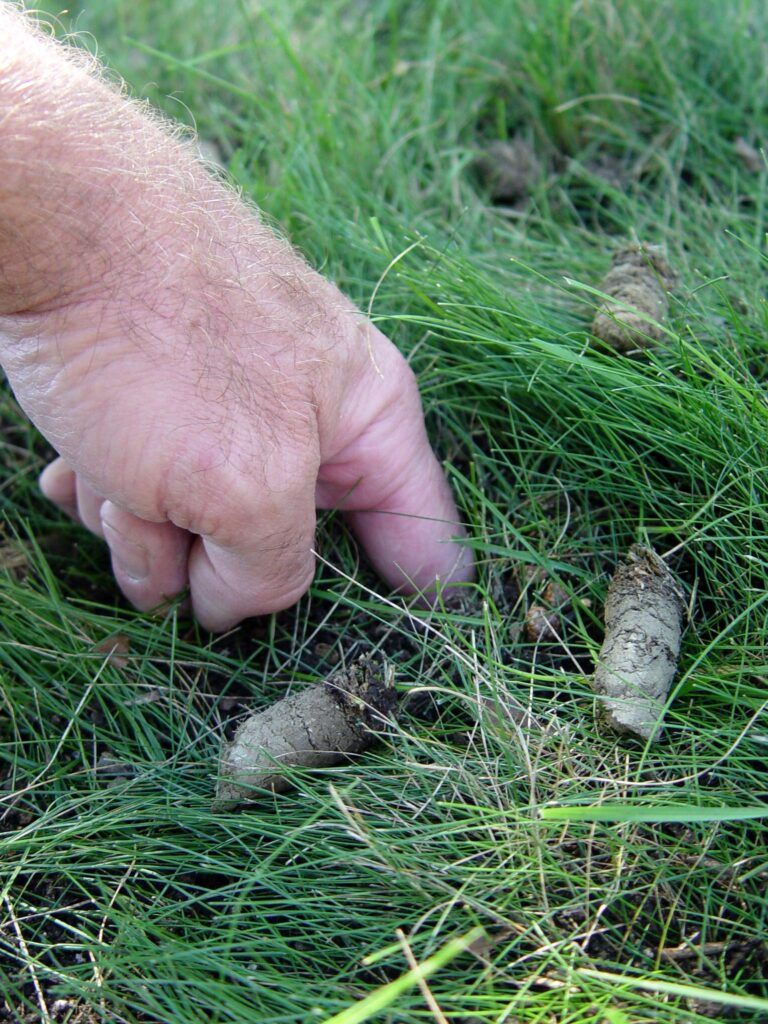
Step 1: Identify the Cause of Bare Spots
Before you start reseeding, take a moment to understand why the bare spot appeared in the first place. Otherwise, you’ll be fixing the symptom, not the problem. Common causes include:

- Heavy foot traffic: Worn-down paths where kids, pets, or equipment regularly move.
- Grub or pest damage: Grass roots eaten away beneath the surface.
- Pet urine burns: Nitrogen overload from dogs creates dead patches.
- Poor soil drainage: Low spots that collect standing water.
- Excess shade: Grass struggling under thick trees or shrubs.
- Compacted soil: Common in high-use areas or after summer dryness.
Once you identify the cause, correct it. For example, aerate compacted areas, redirect traffic with stepping stones, or treat pests if needed. Fixing the underlying issue ensures your repairs last.
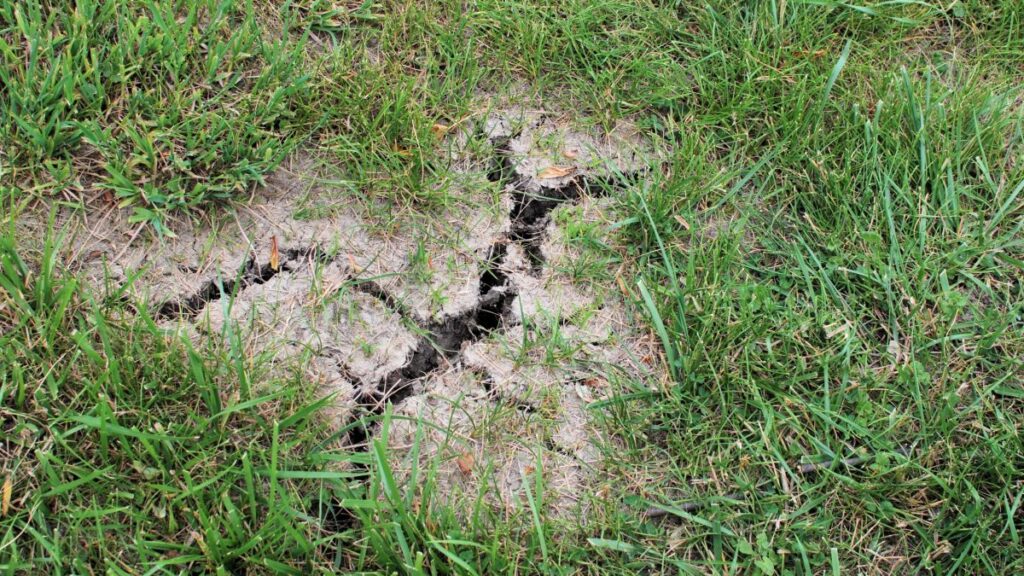
Step 2: Clear and Loosen the Soil
Next, remove debris and dead grass from the bare spot. Use a rake or dethatching tool to clean the area until you expose bare soil. This ensures that new seed has direct contact with the soil surface—a key factor for germination.
Once the spot is clear, loosen the soil with a hand rake or garden cultivator. You want the top 2–3 inches to be crumbly and well-aerated. If the soil is compacted, consider poking small holes with a garden fork to improve air and water flow.
Pro tip: Mix in a thin layer of compost or topsoil to improve fertility and drainage. Compost adds organic matter that feeds beneficial microbes and helps hold moisture—ideal for young grass seedlings.
Step 3: Choose the Right Grass Seed for Fall Repair
Selecting the correct seed is crucial to long-term success. Choose a grass variety that matches your existing lawn type and regional growing conditions.
For cool-season regions (northern areas):
- Kentucky bluegrass
- Perennial ryegrass
- Tall or fine fescue blends
For warmer climates (southern areas):

- Bermuda
- Zoysia
- Centipede or bahia grass
If you’re unsure what type you have, take a small sample to a garden center for identification. Many homeowners benefit from a sun-and-shade seed mix, which thrives in mixed light conditions common in fall yards.
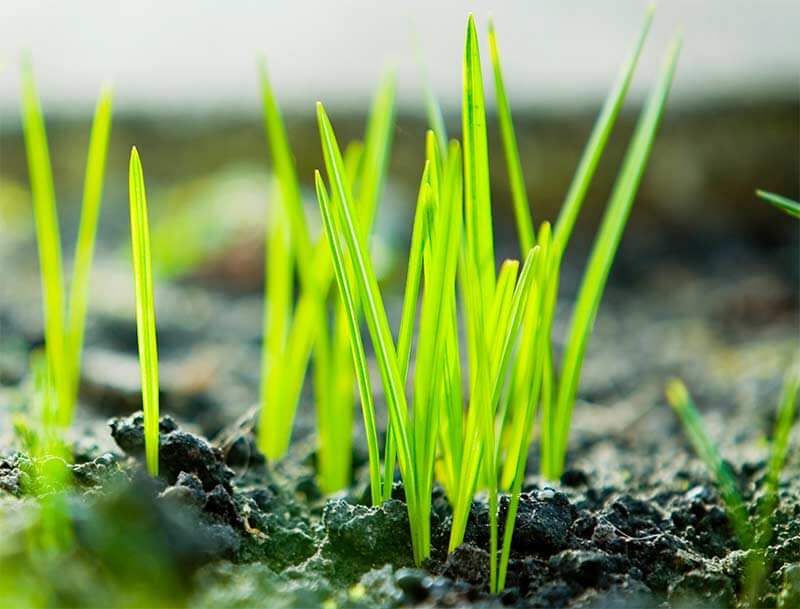
Step 4: Apply Seed Evenly
Once you’ve prepared the soil, spread the seed evenly across the bare area. For small patches, simply sprinkle seed by hand. For larger spots, use a handheld broadcast spreader for even coverage.
Seed application guide:
- Apply roughly 1 ounce of seed per square yard for small patches.
- Gently rake over the area to mix the seed lightly into the top layer of soil (about ¼ inch deep).
- Avoid burying seeds too deeply—they need sunlight and oxygen to germinate.
Optional but helpful: Sprinkle a thin layer of topsoil or compost over the seed to protect it from wind and birds. This light cover also helps maintain moisture during germination.
Step 5: Water Consistently—but Don’t Overdo It
Proper watering is the difference between a thriving repair and a failed one. Newly seeded areas need consistent moisture to keep the soil damp but never waterlogged.
Watering schedule:
- Water lightly once or twice a day for the first 10–14 days, depending on weather.
- As seedlings sprout, reduce watering to once every two to three days but increase the amount to encourage deeper roots.
Morning watering is best—it minimizes evaporation and gives seedlings time to dry out before nightfall, reducing disease risk.

Pro tip: A gentle spray nozzle or sprinkler system works better than a strong stream that could wash seeds away.
Step 6: Protect the Area from Foot Traffic and Frost
Once your seeds are down, you’ll need to protect them from both people and weather. Covering helps keep seeds in place and shields them from early frosts.
Options include:
- Straw mulch: A light layer (not too thick) helps retain moisture and prevent erosion.
- Biodegradable seed blankets: Ideal for sloped areas or large repairs.
- Plastic netting: Keeps pets or birds away from fresh seed.
Avoid walking on the newly seeded area for at least three weeks. If frost hits early, these protective layers will also act as insulation until the young grass can handle colder temperatures.
Step 7: Feed Your New Grass
About 2–3 weeks after seeding, when the grass reaches about 2 inches tall, apply a starter fertilizer. Look for one high in phosphorus, which promotes root development. Avoid high-nitrogen fertilizers at this stage—they encourage top growth before the roots are ready.
Once your new grass is established (after 6–8 weeks), you can resume your normal fertilization routine.
Step 8: Mow Carefully
Once the new grass reaches 3–4 inches tall, it’s time for its first mowing. Make sure your mower blades are sharp and only trim off about one-third of the height at a time. Avoid mowing too short—it can stress young plants and expose roots to cold.

Continue mowing lightly through late fall if the weather allows, as this encourages grass to thicken before dormancy.
Step 9: Don’t Wait Too Long
Timing is everything. You’ll want to start your repair project at least 6–8 weeks before the ground freezes. This gives your grass seed time to germinate and establish strong roots before winter dormancy.
If you miss this window, don’t try to seed in freezing conditions—it won’t work. Instead, plan for dormant seeding: spreading seed in late fall or early winter so it stays dormant until spring thaw, when it germinates naturally.
Step 10: Plan for Spring Maintenance
Your fall repairs will set the stage for a lush, even lawn in spring—but your work doesn’t end there. As soon as the snow melts and the soil warms, give your repaired areas extra care.
Spring checklist:
- Rake lightly to remove debris and dead grass.
- Overseed if any thin patches remain.
- Apply a slow-release fertilizer to jump-start growth.
- Water consistently during dry spells.
By nurturing your fall repairs through spring, your lawn will recover faster and stay greener throughout the year.
Final Thoughts
Repairing bare spots before the ground freezes is one of the smartest fall maintenance tasks you can tackle. It not only improves your lawn’s appearance but also strengthens it against winter damage and spring weed invasion.

Think of it as giving your lawn a head start—a small investment of time and effort now will pay off with a dense, vibrant lawn when the snow melts.
So grab your rake, a bag of seed, and a little compost. Work with the cool air and moist soil nature provides this season, and your lawn will thank you with lush, green growth when spring returns.
Don’t wait for the thaw—repair now, and let your lawn rest easy all winter long.