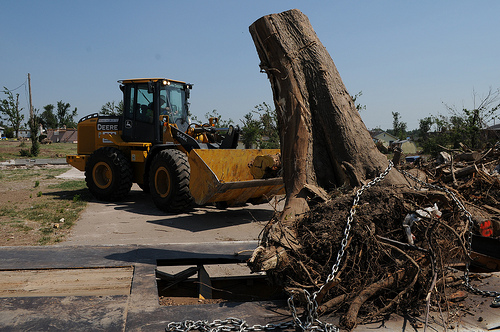
A freshly cut tree can leave behind more than just open space—it often leaves a stubborn stump that seems determined to stay put. While renting a stump grinder or hiring professionals with heavy machinery is one solution, not everyone has the budget, space, or desire for such equipment. Fortunately, there are several effective ways to remove tree stumps without heavy machinery.
Whether you prefer natural decomposition, manual effort, or chemical assistance, you can reclaim your yard and create a smooth, usable surface. Here’s a detailed guide to removing tree stumps step by step—no backhoes or grinders required.
Step 1: Evaluate Your Stump
Before choosing a method, take stock of your situation:
- Stump size: Smaller stumps (under 12 inches in diameter) are easier to tackle manually, while larger ones may require chemical or burning methods.
- Location: Stumps near foundations, fences, or underground utilities need gentler removal methods to avoid damage.
- Timeframe: Do you need it gone immediately, or can you let it decompose slowly over months?
Your answers will help determine the best approach.
Step 2: Gather Basic Tools
Even without heavy machinery, you’ll need some tools to get the job done safely. Common options include:

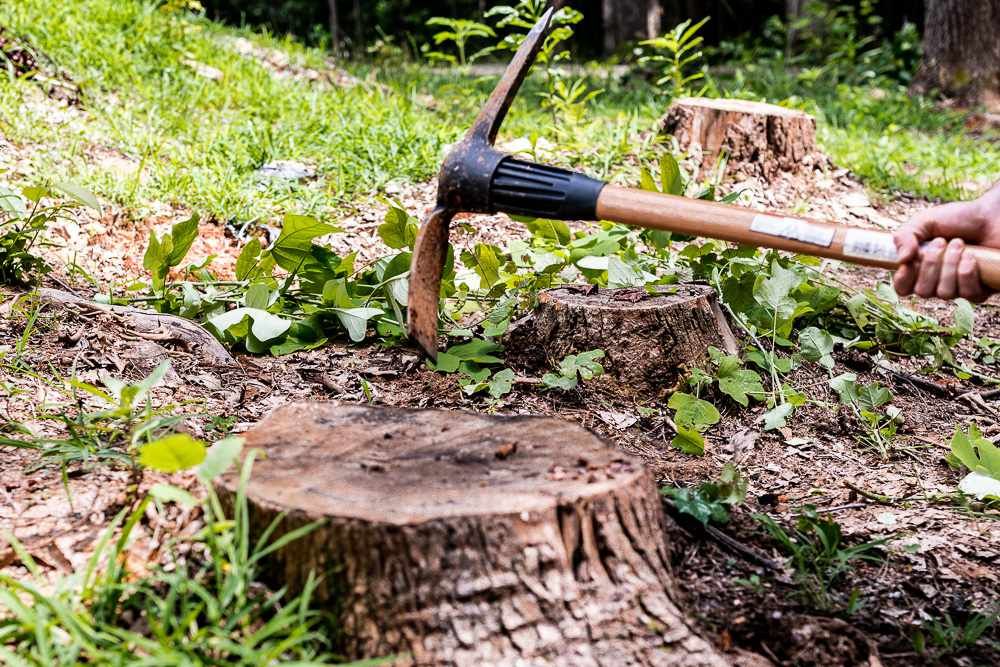
- A shovel or mattock for digging around the stump
- A bow saw or hand saw for cutting roots
- A pruning saw or loppers for smaller roots
- A drill with large bits for applying chemicals or accelerants
- Protective gloves and safety goggles for safe handling
Optional but helpful tools: an axe, wedge, sledgehammer, or a digging bar for extra leverage.
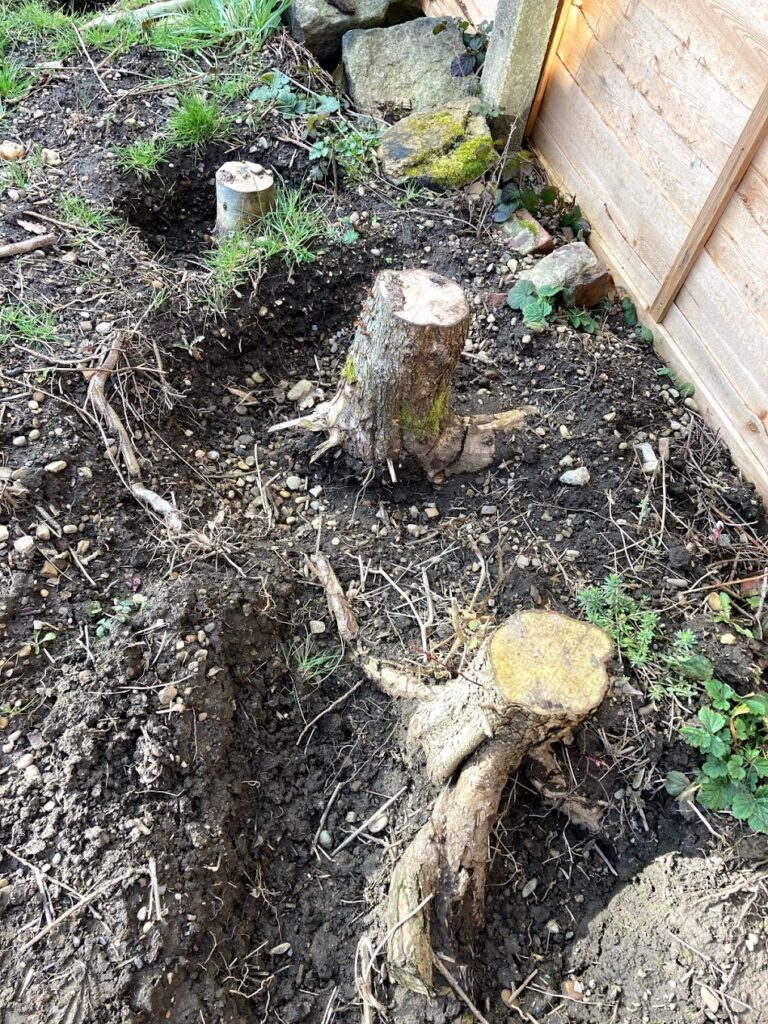
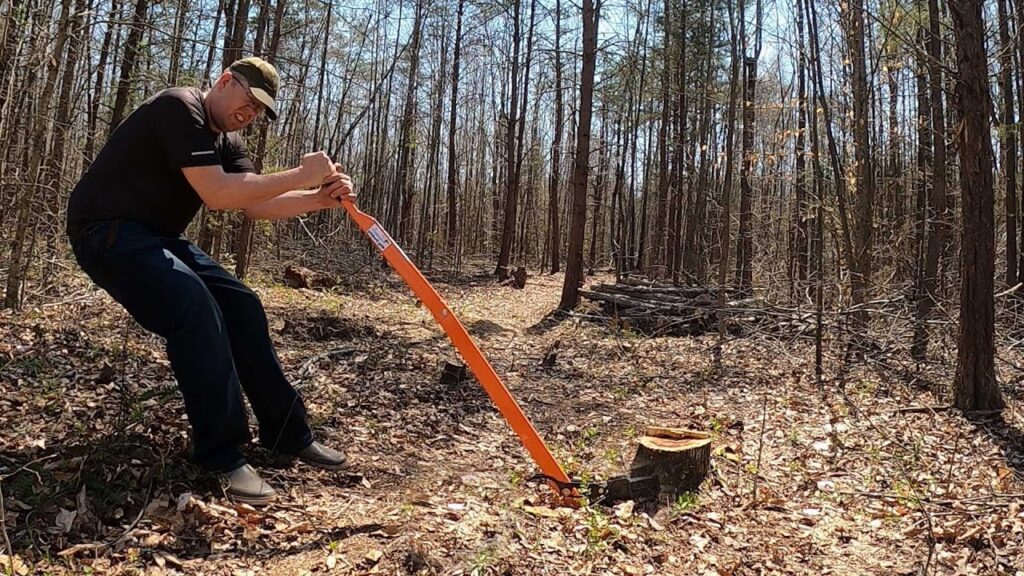
Method 1: Manual Digging and Root Cutting
This is the most labor-intensive option, but it works well for smaller stumps and those with shallow roots.
Steps:
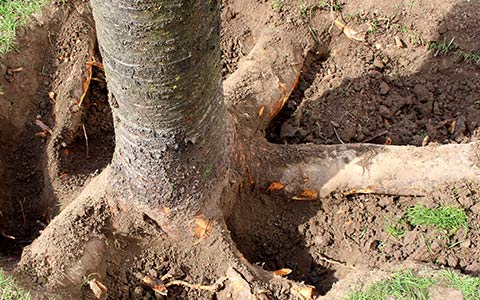
- Use a shovel to dig around the stump, exposing major roots.
- Cut the roots with a saw, loppers, or an axe. Start with smaller roots and work toward the larger ones.
- Wiggle and pry the stump using leverage from a digging bar or long piece of lumber.
- Keep cutting and loosening until the stump lifts free.
Best For: Small to medium stumps, those in open areas where you can dig freely.
Pros: Low cost, immediate results, no chemicals.
Cons: Very labor-intensive, especially for large stumps.
Method 2: Chemical Decomposition
If you’d rather not sweat it out, chemical stump removers can speed up the natural rotting process.

Steps:
- Drill several deep holes into the top of the stump, about 1 inch wide and 8–12 inches deep.
- Pour commercial stump remover (often potassium nitrate) into the holes.
- Add water to help the chemicals absorb.
- Wait several weeks to months—the stump will soften and begin to decay.
- Break apart the softened wood with an axe or shovel.
Best For: Large stumps or when you want less manual labor.
Pros: Minimal effort, effective breakdown of wood.
Cons: Time-consuming, requires patience, not organic.
Method 3: Natural Decomposition (Eco-Friendly Option)
If you’re not in a rush, you can let nature do the work. Composting and natural decay methods enrich the soil over time.
Steps:
- Drill holes into the stump to increase surface area.
- Fill the holes with nitrogen-rich material (such as compost, fertilizer, or manure).
- Cover the stump with a tarp to retain moisture and heat.
- Add mulch or soil on top of the tarp to encourage microbial activity.
- Check periodically—within 6 months to 2 years, the stump will break down enough to be removed easily.
Best For: Gardeners who prefer natural, chemical-free solutions.
Pros: Safe, eco-friendly, enriches soil.
Cons: Slowest method, requires patience.
Method 4: Burning the Stump (Where Legal)
Burning is a traditional method, but it must be done carefully and is not allowed everywhere. Always check local fire regulations first.
Steps:
- Drill holes into the stump and pour kerosene (never gasoline) into the holes. Let it soak for several days.
- Ignite the stump carefully, monitoring closely.
- Allow the fire to burn down the stump to ground level.
- Cover the ash with soil once complete.
Best For: Rural areas with fewer restrictions and when quick results are needed.
Pros: Relatively fast, minimal physical labor.
Cons: Safety hazards, potential legal restrictions, not environmentally friendly.
Method 5: Epsom Salt or Rock Salt Treatment
A less aggressive alternative to chemicals, salts dehydrate the stump and speed up rotting.
Steps:

- Drill holes into the stump.
- Fill with Epsom salt or rock salt.
- Add water to help absorption.
- Cover with a tarp to limit rainwater dilution.
- After several months, the stump becomes brittle and easier to remove.
Best For: Those who want a more natural but still effective decomposition aid.
Pros: Safer than chemical removers, inexpensive.
Cons: Takes time, requires multiple applications.
Tips for Easier Stump Removal
- Remove as much of the stump above ground as possible before starting—cut it close to soil level with a chainsaw or saw.
- Work in sections if the stump is large—break off chunks rather than tackling it all at once.
- Soak the soil around the stump before digging to make roots easier to cut.
- Use leverage wisely—longer pry bars or boards give more power with less effort.
What to Do With the Space After Removal
Once the stump is gone, you’ll want to restore the space:
- Fill the hole with soil and compost to level the ground.
- Plant grass or ground cover to blend the area into your yard.
- Use the cleared spot for a new tree, garden bed, or patio feature.
You can even repurpose stump wood into firewood, mulch, or rustic garden décor.
Final Thoughts
Removing a tree stump without heavy machinery takes patience, effort, and the right approach for your specific situation. Manual digging works best for small stumps, chemicals and salts speed decomposition for larger ones, and natural methods or burning offer alternatives depending on your timeline and local rules.
No matter which method you choose, safety and preparation are key. With persistence, you’ll not only remove the stump but also reclaim valuable space in your yard for fresh landscaping or new projects.

In the end, stump removal isn’t just about clearing—it’s about renewal. And with these practical, no-machinery methods, anyone can do it.